
Night Wedding Reception Photography: Your Complete Guide to Flash & Ambient Light
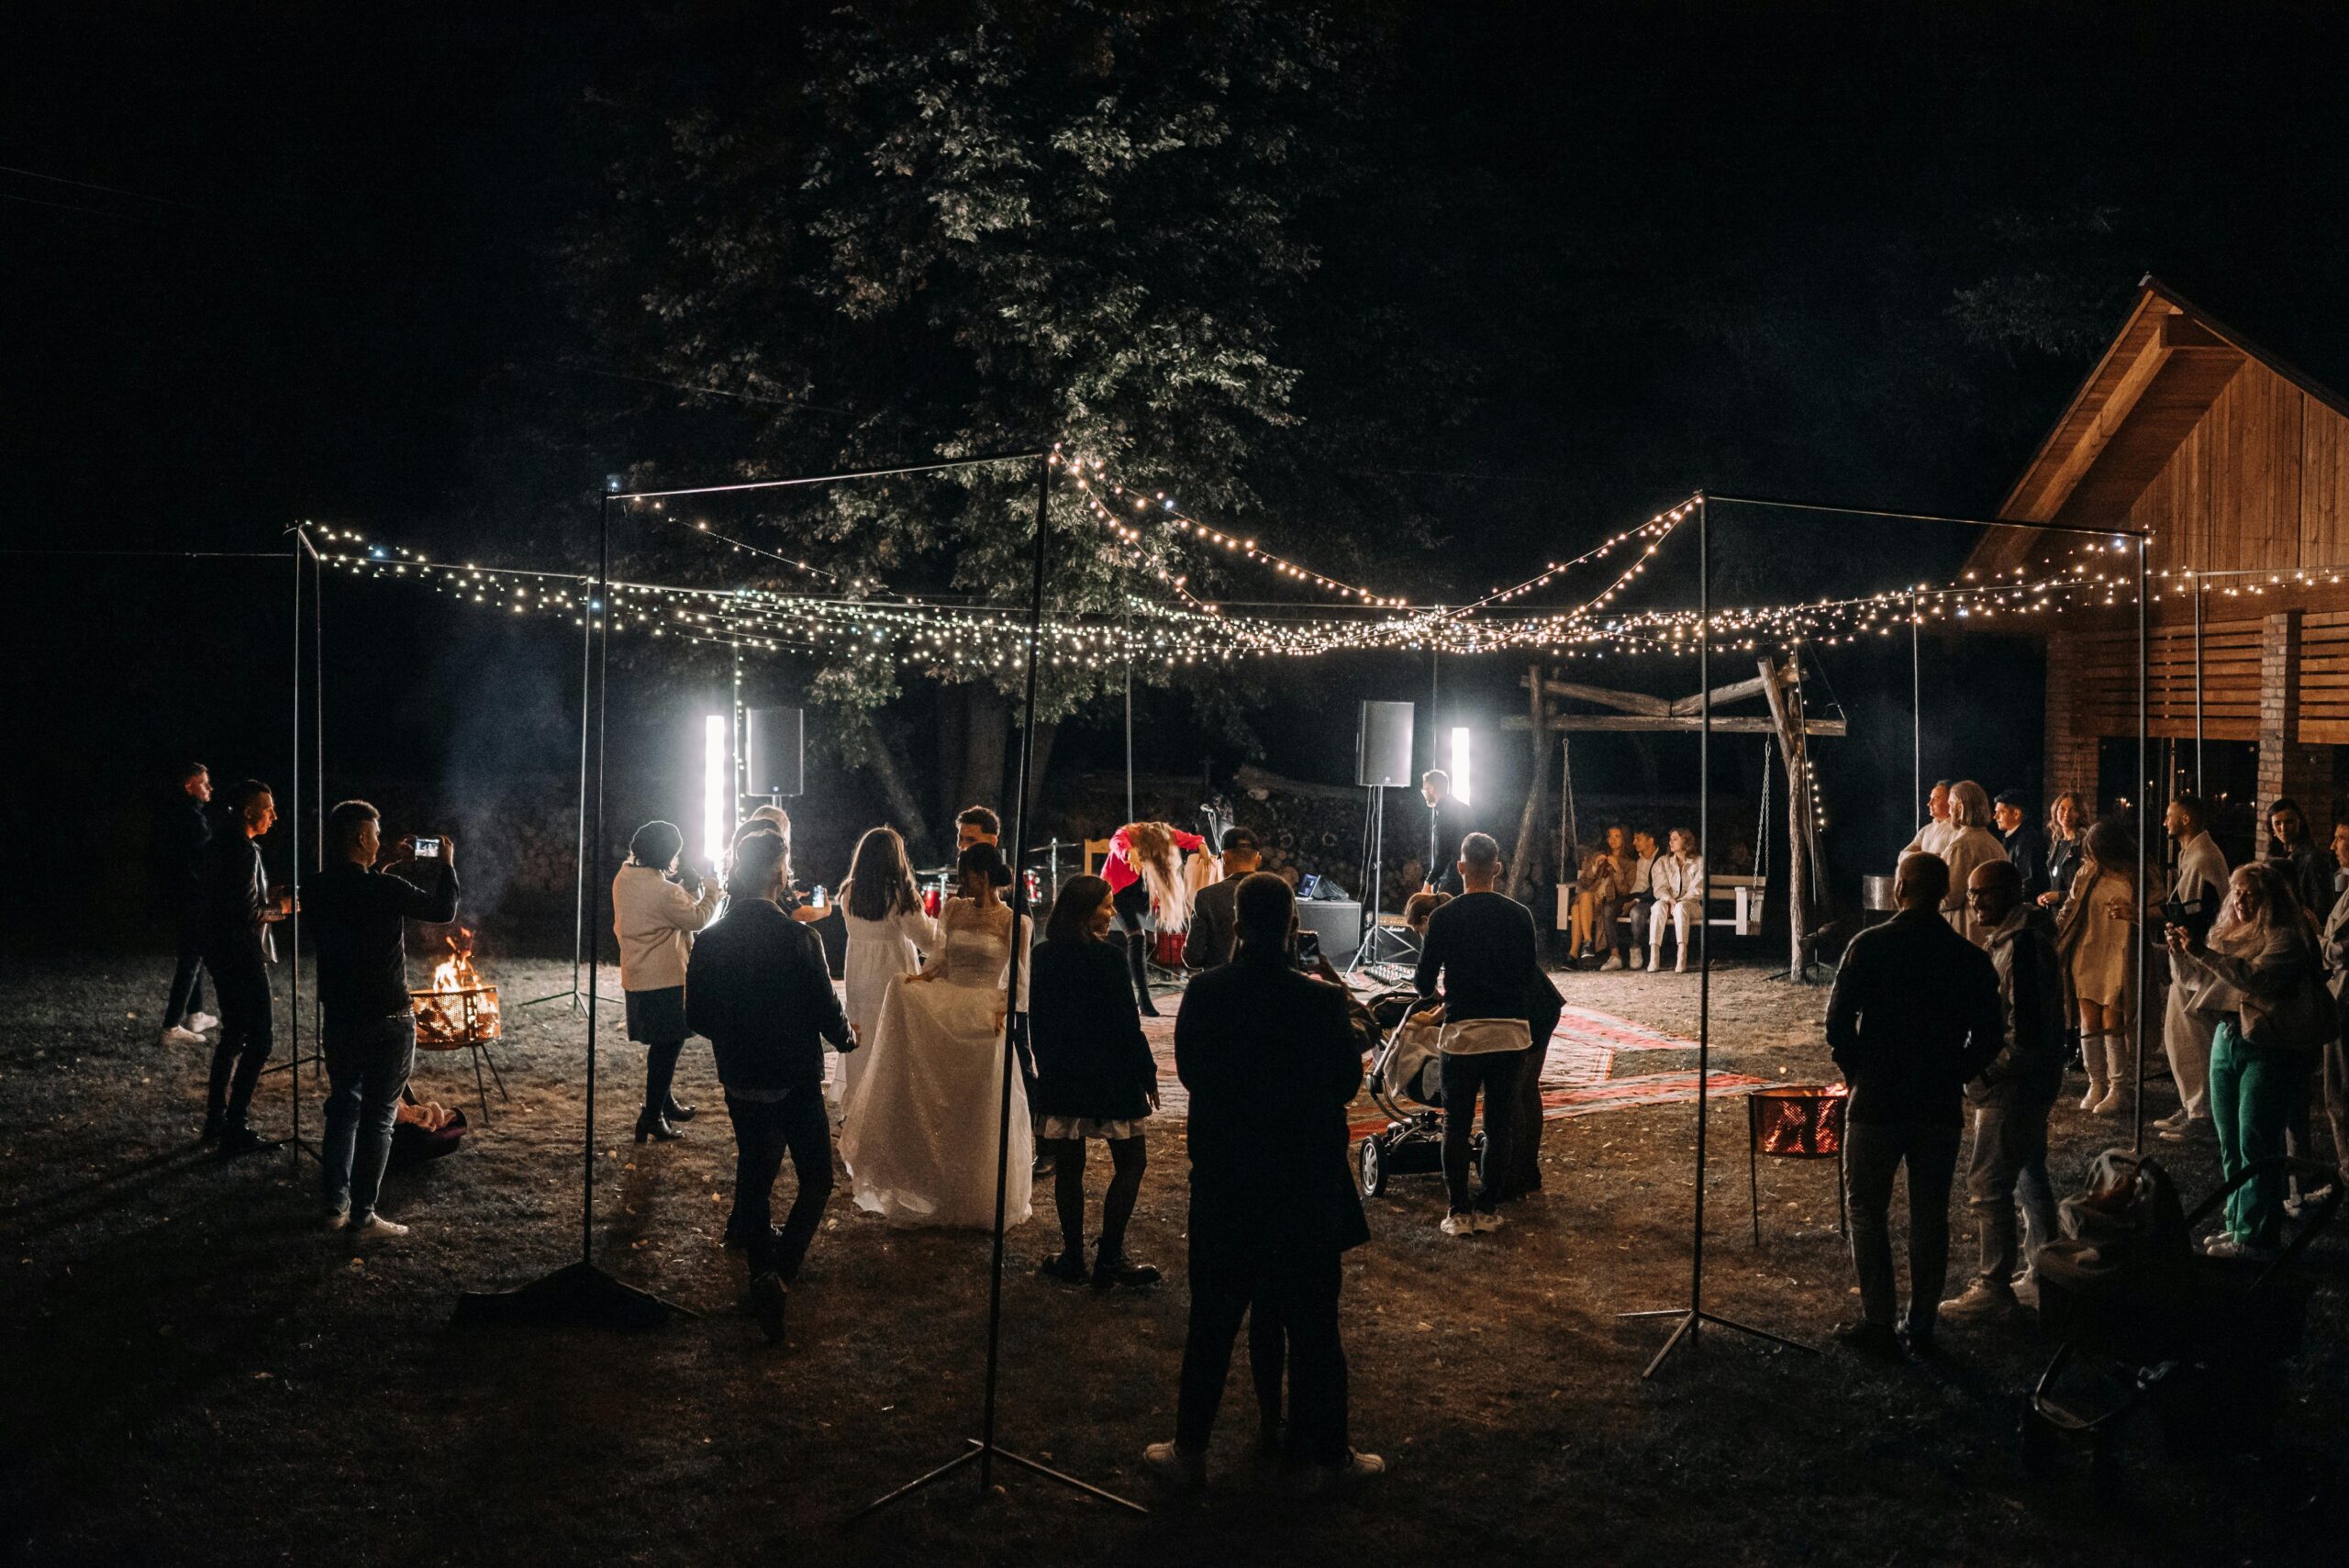
Night wedding reception photography is where good photographers separate themselves from great ones. The dance floor is pumping, DJ lights are strobing in every color imaginable, and the couple expects sharp, vibrant, magazine-worthy images — all in near-darkness. No pressure, right?
Here’s the truth: mastering flash and ambient light at a reception is a learnable skill. It’s not about luck or expensive gear. It’s about understanding how light behaves, knowing your camera settings cold, and making deliberate choices in the moment. Whether you’re dealing with a dim ballroom, a string-lit barn, or an outdoor tent reception at midnight, this guide gives you the framework to nail it every single time. Let’s get into it — photographer to photographer.
1. Understanding the Exposure Triangle in Low-Light Reception Environments
Night wedding reception photography demands that you command the exposure triangle — ISO, aperture, and shutter speed — rather than letting the camera guess for you. Your starting point determines everything that follows.
In a dimly lit reception hall, your camera’s meter is overwhelmed. It wants to expose for the average scene, which often means blown-out centerpieces and muddy shadows simultaneously. You need to take manual control.
Recommended Baseline Settings for Reception Halls
Start here and adjust based on your specific venue:
- ISO: 800–3200 depending on your camera body. Modern full-frame sensors handle ISO 1600 cleanly. APS-C shooters, stay conservative at 800–1600.
- Aperture: f/2.8 to f/4 for group shots; f/1.8–f/2 for intimate couple portraits. Wider than f/1.8 risks too-shallow depth of field for dancing groups.
- Shutter speed: 1/60s to 1/200s depending on your flash sync speed. Never exceed your camera’s max sync speed (usually 1/200s or 1/250s) unless using High-Speed Sync (HSS).
Think of this as your reception Sunny 16 Rule equivalent — a reliable mental anchor before you walk into any dark venue. From this baseline, you pull ambient light in or push flash power up. You never start from scratch mid-reception.
One critical concept: the shutter speed controls ambient light exposure; the flash power (or distance) controls your subject’s flash exposure. These are two independent dials. Slow your shutter to let more ambient room light into the frame. Adjust flash power to brighten or dim your subject. Once this clicks, reception lighting becomes logical rather than chaotic.
A common mistake beginners make is cranking ISO to 6400 and wondering why images look grainy and flat. Instead, use flash intelligently at a moderate ISO. You get cleaner files, better color rendition, and more editing latitude in Lightroom.
2. On-Camera Flash Techniques That Actually Work at Receptions
On-camera flash — used correctly — is a powerful, fast, and mobile tool for night wedding reception photography. The key phrase is “used correctly,” because direct bare flash pointed straight at your subjects is the fastest way to produce harsh, unflattering light with raccoon shadows.
The solution is bounce flash. Bounce your speedlight off a ceiling, a wall, or a white reflector card, and you transform a harsh point source into a broad, soft light source. The larger the bounce surface, the softer the light.
Bounce Flash Angles and the ETTL Method
For a standard 10-foot white ceiling, aim your flash head at a 45–60 degree angle. The light travels up, spreads across the ceiling, and rains down softly on your subjects. This technique works beautifully for candid reception shots, table visits, and dancing frames.
Use your speedlight in ETTL (Evaluative Through-The-Lens) mode for fast-moving situations like the first dance or bouquet toss. ETTL fires a pre-flash, reads the scene, and sets flash power automatically. It’s not perfect, but it keeps you shooting instead of chimping your histogram.
For more control, switch to Manual flash. Set your power at 1/4 or 1/8 and dial in from there. Manual flash is consistent and predictable — ideal when you’re working in the same spot repeatedly, like during cake cutting or speeches.
Add a small diffuser like a Gary Fong Lightsphere or a MagMod MagSphere to your on-camera flash. These scatter light in multiple directions, giving you some bounce even in dark venues with high or colored ceilings. Colored ceilings are the enemy of bounce flash — a red or navy ceiling will color-cast your entire image. In those situations, a diffuser that throws light forward and sideways saves you.
Pro tip: attach a white index card or a Rogue FlashBender behind your flash head when bouncing. This “kicker card” throws a small amount of light forward to add catchlights in eyes — something pure ceiling bounce often misses.
3. Off-Camera Flash: Elevating Your Reception Images to Editorial Level
Off-camera flash is the technique that produces the dramatic, editorial-quality images you see in wedding blogs and magazines. Moving the flash off your camera axis breaks flat lighting and adds dimension, shadow, and depth to every image.
At receptions, off-camera flash doesn’t have to be complicated. One light, placed strategically, can transform your results dramatically.
Simple One-Light Off-Camera Setup for Receptions
Place a single speedlight on a lightweight stand with a shoot-through umbrella or a small softbox. Position it at roughly 45 degrees to your subject, slightly above eye level — this is the classic Rembrandt lighting position. Connect it wirelessly using a radio trigger system like PocketWizard, Godox X2T, or Profoto Connect.
For a barn or rustic venue, try this workflow from breatheyourpassion.com’s off-camera flash technique for detail shots: position your light just outside the frame at a 90-degree angle to illuminate table details, floral arrangements, or escort card displays. This raking sidelight creates texture and dimension that straight-on flash destroys.
For dancing shots, consider placing your off-camera flash behind and slightly to the side of the couple — this creates a beautiful rim light that separates subjects from the background and gives images a cinematic quality. Combine it with a lower-powered on-camera bounce flash as fill and you have a two-light system that looks like a professional studio setup, built from two speedlights.
Keep your off-camera flash on a smaller stand that breaks down quickly. Receptions move fast. You may have thirty seconds between the first dance ending and the father-daughter dance beginning. A cumbersome lighting setup is a liability. Travel light, work fast, and prioritize portability over perfection.
Radio triggers beat optical slaves at receptions every time. DJ lighting and ambient strobes will false-trigger optical systems constantly. Invest in reliable radio triggers — it’s one of the best returns on investment in your reception kit.
4. Blending Flash with Ambient Light for Natural-Looking Reception Photos
The goal in night wedding reception photography isn’t to overpower the room with flash — it’s to blend your flash seamlessly with the existing ambient light so images look natural, warm, and alive. Heavy-handed flash produces that telltale “photographed at a wedding” look: black backgrounds, washed-out faces, no sense of place.
The blend is everything. And it starts with exposure decisions before you ever fire a flash.
Rear Curtain Sync: The Motion Blur Technique
Rear curtain sync (also called second curtain sync) is one of the most powerful techniques in your reception toolkit. Instead of firing the flash at the beginning of your exposure, rear curtain sync fires it at the end — just before the shutter closes.
Here’s why this matters: when you use a slow shutter speed (say 1/30s or 1/15s) to let ambient light in, moving subjects like dancers will create motion blur trails. With front curtain sync, those blur trails appear in front of the subject, which looks unnatural. With rear curtain sync, blur trails appear behind the subject — the direction of motion. The result is a sharp subject frozen by the flash, with beautiful, natural-looking motion blur streaking behind them.
Try rear curtain sync at 1/15s to 1/30s shutter, ISO 800, f/2.8, with flash at 1/8 power on the dance floor. Experiment with slight camera movement during the exposure for creative light painting effects. This technique produces images that feel dynamic, editorial, and alive — far beyond what straight flash ever achieves.
To blend ambient warm string lights or candles with your flash, gel your speedlight with a CTO (Color Temperature Orange) gel. Set your camera white balance to Tungsten (around 3200K). Your flash with the CTO gel now matches the warm ambient light, and everything in the frame has consistent, beautiful warm tones. Without the gel, your flash fires cool daylight-balanced light against warm ambient — subjects look blue and disconnected from the scene.
This gel-and-tungsten-white-balance combination is one of the most underused techniques in reception photography. Use it every time you’re working in a candle-lit or string-light venue.
5. Dealing with DJ Lights, Colored Uplighting, and Mixed Light Sources
DJ lights are both your biggest creative opportunity and your most challenging technical obstacle in night wedding reception photography. They move, they change color, and they fire strobes at unpredictable intervals that can completely alter an exposure from frame to frame.
Learning to work with DJ lighting rather than against it is what separates experienced reception photographers from frustrated beginners.
Techniques for Shooting During Open Dancing with DJ Lights
First, talk to the DJ before the reception starts. Introduce yourself, tell them you’re the photographer, and ask if they can hold off on the rapid strobe effects during key moments like the first dance. Most DJs are happy to cooperate — they want the couple happy too. This simple conversation prevents the nightmare scenario of a strobe firing mid-first-dance and ruining ten frames in a row.
During open dancing, embrace the colored lights. Switch to Auto White Balance or set a custom white balance and accept that colors will shift — that’s part of the aesthetic. Use a fast shutter (1/125s–1/200s) to freeze DJ light movement. Use your flash slightly underexposed (minus 1/3 to minus 2/3 stop in ETTL compensation) so the colored ambient light still registers in the exposure rather than being overwhelmed by your flash.
Colored uplighting on walls is gorgeous but tricky. If the walls are red, your bounce flash picks up that color cast. Aim your flash forward rather than bouncing, or use a large diffuser. Alternatively, embrace the colored wall as a background and place subjects away from it, exposing for the flash on your subjects while letting the colored wall fall slightly underexposed for drama.
When colored pinspot lights hit the dance floor, position yourself so the light falls on your subjects’ faces rather than creating harsh shadows. Pinspots from directly above create raccoon-eye shadows. Move laterally to get the pinspot at a more flattering angle relative to your subjects.
6. Gear, Preparation, and Workflow for Night Reception Success
Great technique is built on reliable gear and solid preparation. Night wedding reception photography rewards photographers who arrive prepared and penalizes those who improvise from zero. Here’s the practical framework to walk into any reception confident.
Essential Gear Checklist for Reception Flash Photography
- Primary speedlight: Godox V1, Profoto A10, or Canon 600EX-RT. Choose a flash with a round head for smoother light spread.
- Backup speedlight: Always carry a second identical flash. Flashes die at receptions — usually during the first dance.
- Radio triggers: Godox X2T or PocketWizard Plus III. Two sets minimum.
- Light stand: Compact, lightweight, max 7 feet. Avenger or Impact brand work well.
- Modifiers: Shoot-through umbrella (32–43 inch), MagMod MagSphere, and a set of CTO and CTS gels.
- Batteries: Rechargeable AA Eneloops in sets of 16 minimum. A dedicated battery pack like the Godox PB960 dramatically speeds up recycle time.
- Camera bodies: Two bodies minimum. One with a 24-70mm f/2.8 for wide reception coverage; one with a 70-200mm f/2.8 for candid dancing shots from across the room.
Before the reception begins, walk the venue. Note the ceiling height and color. Find the ambient light sources. Identify the DJ booth location and the direction lights will be firing. Choose two or three positions where you’ll place off-camera flash if needed. Mental rehearsal at an empty venue is infinitely easier than problem-solving during the father-daughter dance.
Build a shot list for the reception that includes: first dance, parent dances, toasts, cake cutting, bouquet toss, garter toss, and open dancing candids. Each moment has different lighting demands. Know which flash approach you’ll use for each before the music starts.
In post-processing, shoot RAW files. Reception flash photography often requires white balance corrections, shadow recovery, and exposure adjustments that JPEG files can’t handle without quality loss. Lightroom’s HSL panel lets you selectively neutralize color casts from colored lighting while preserving the warm ambient tones in the rest of the frame.
Frequently Asked Questions About Night Wedding Reception Photography
What is the best camera setting for wedding reception photography at night?
Start at ISO 800–1600, f/2.8, and 1/60s–1/125s shutter speed with a speedlight in ETTL mode. Adjust shutter speed to control ambient light and flash power to control subject brightness. These two controls work independently — mastering that relationship is the key to consistent results.
Should I use ETTL or manual flash at a wedding reception?
Use ETTL for fast-moving events like dancing, bouquet tosses, and candid moments where you’re constantly repositioning. Switch to manual flash during stationary moments like cake cutting or speeches, where consistent distance means consistent results without ETTL hunting for the right exposure.
How do I prevent harsh shadows in flash reception photos?
Bounce your flash off a white ceiling or wall to spread light broadly. Alternatively, use a diffuser like a MagSphere or shoot-through umbrella. Avoid bare direct flash pointed straight at subjects. Position your flash at a 45-degree angle above eye level for the most flattering, shadow-minimizing light direction.
What is rear curtain sync and when should I use it at a reception?
Rear curtain sync fires your flash at the end of the exposure rather than the beginning. Use it during dancing with a slow shutter (1/15s–1/30s) to create natural-looking motion blur trails behind moving subjects. It produces dynamic, creative images that feel alive and editorial rather than frozen and clinical.
How do I handle colored DJ uplighting in reception photos?
Gel your speedlight with a CTO gel and set white balance to Tungsten to match warm ambient sources. For colored uplighting, position subjects away from strongly colored walls, or embrace the color as a stylistic background element. Avoid bouncing flash off strongly colored surfaces — the color cast will contaminate your subjects’ skin tones.
Do I need off-camera flash for wedding receptions or is on-camera flash enough?
On-camera bounce flash handles 80% of reception moments well. Off-camera flash elevates portraits, detail shots, and creative dancing images to an editorial level. Carry both capabilities. Use on-camera flash for fast-moving candids; deploy off-camera flash during key moments when you have thirty seconds to set up a single light.
Conclusion: Own the Reception Floor with Confident Flash Technique
Night wedding reception photography rewards preparation, technical confidence, and creative intentionality. When you understand that shutter speed controls ambient light and flash power controls subject exposure — and you can adjust both independently under pressure — the reception floor stops being stressful and starts being exciting.
Master bounce flash first. Then add rear curtain sync. Then experiment with off-camera flash setups. Layer these skills one at a time rather than trying to implement everything at once. Each technique you own makes the next one easier to adopt.
The couple trusts you to document one of the most important nights of their lives in some of the most challenging lighting conditions photography offers. That’s a serious responsibility — and a serious opportunity to show what you can do.
If you found this guide useful, share it with a photographer friend who’s heading into their first reception season. And drop your biggest reception lighting challenge in the comments — let’s solve it together.