
Introduction
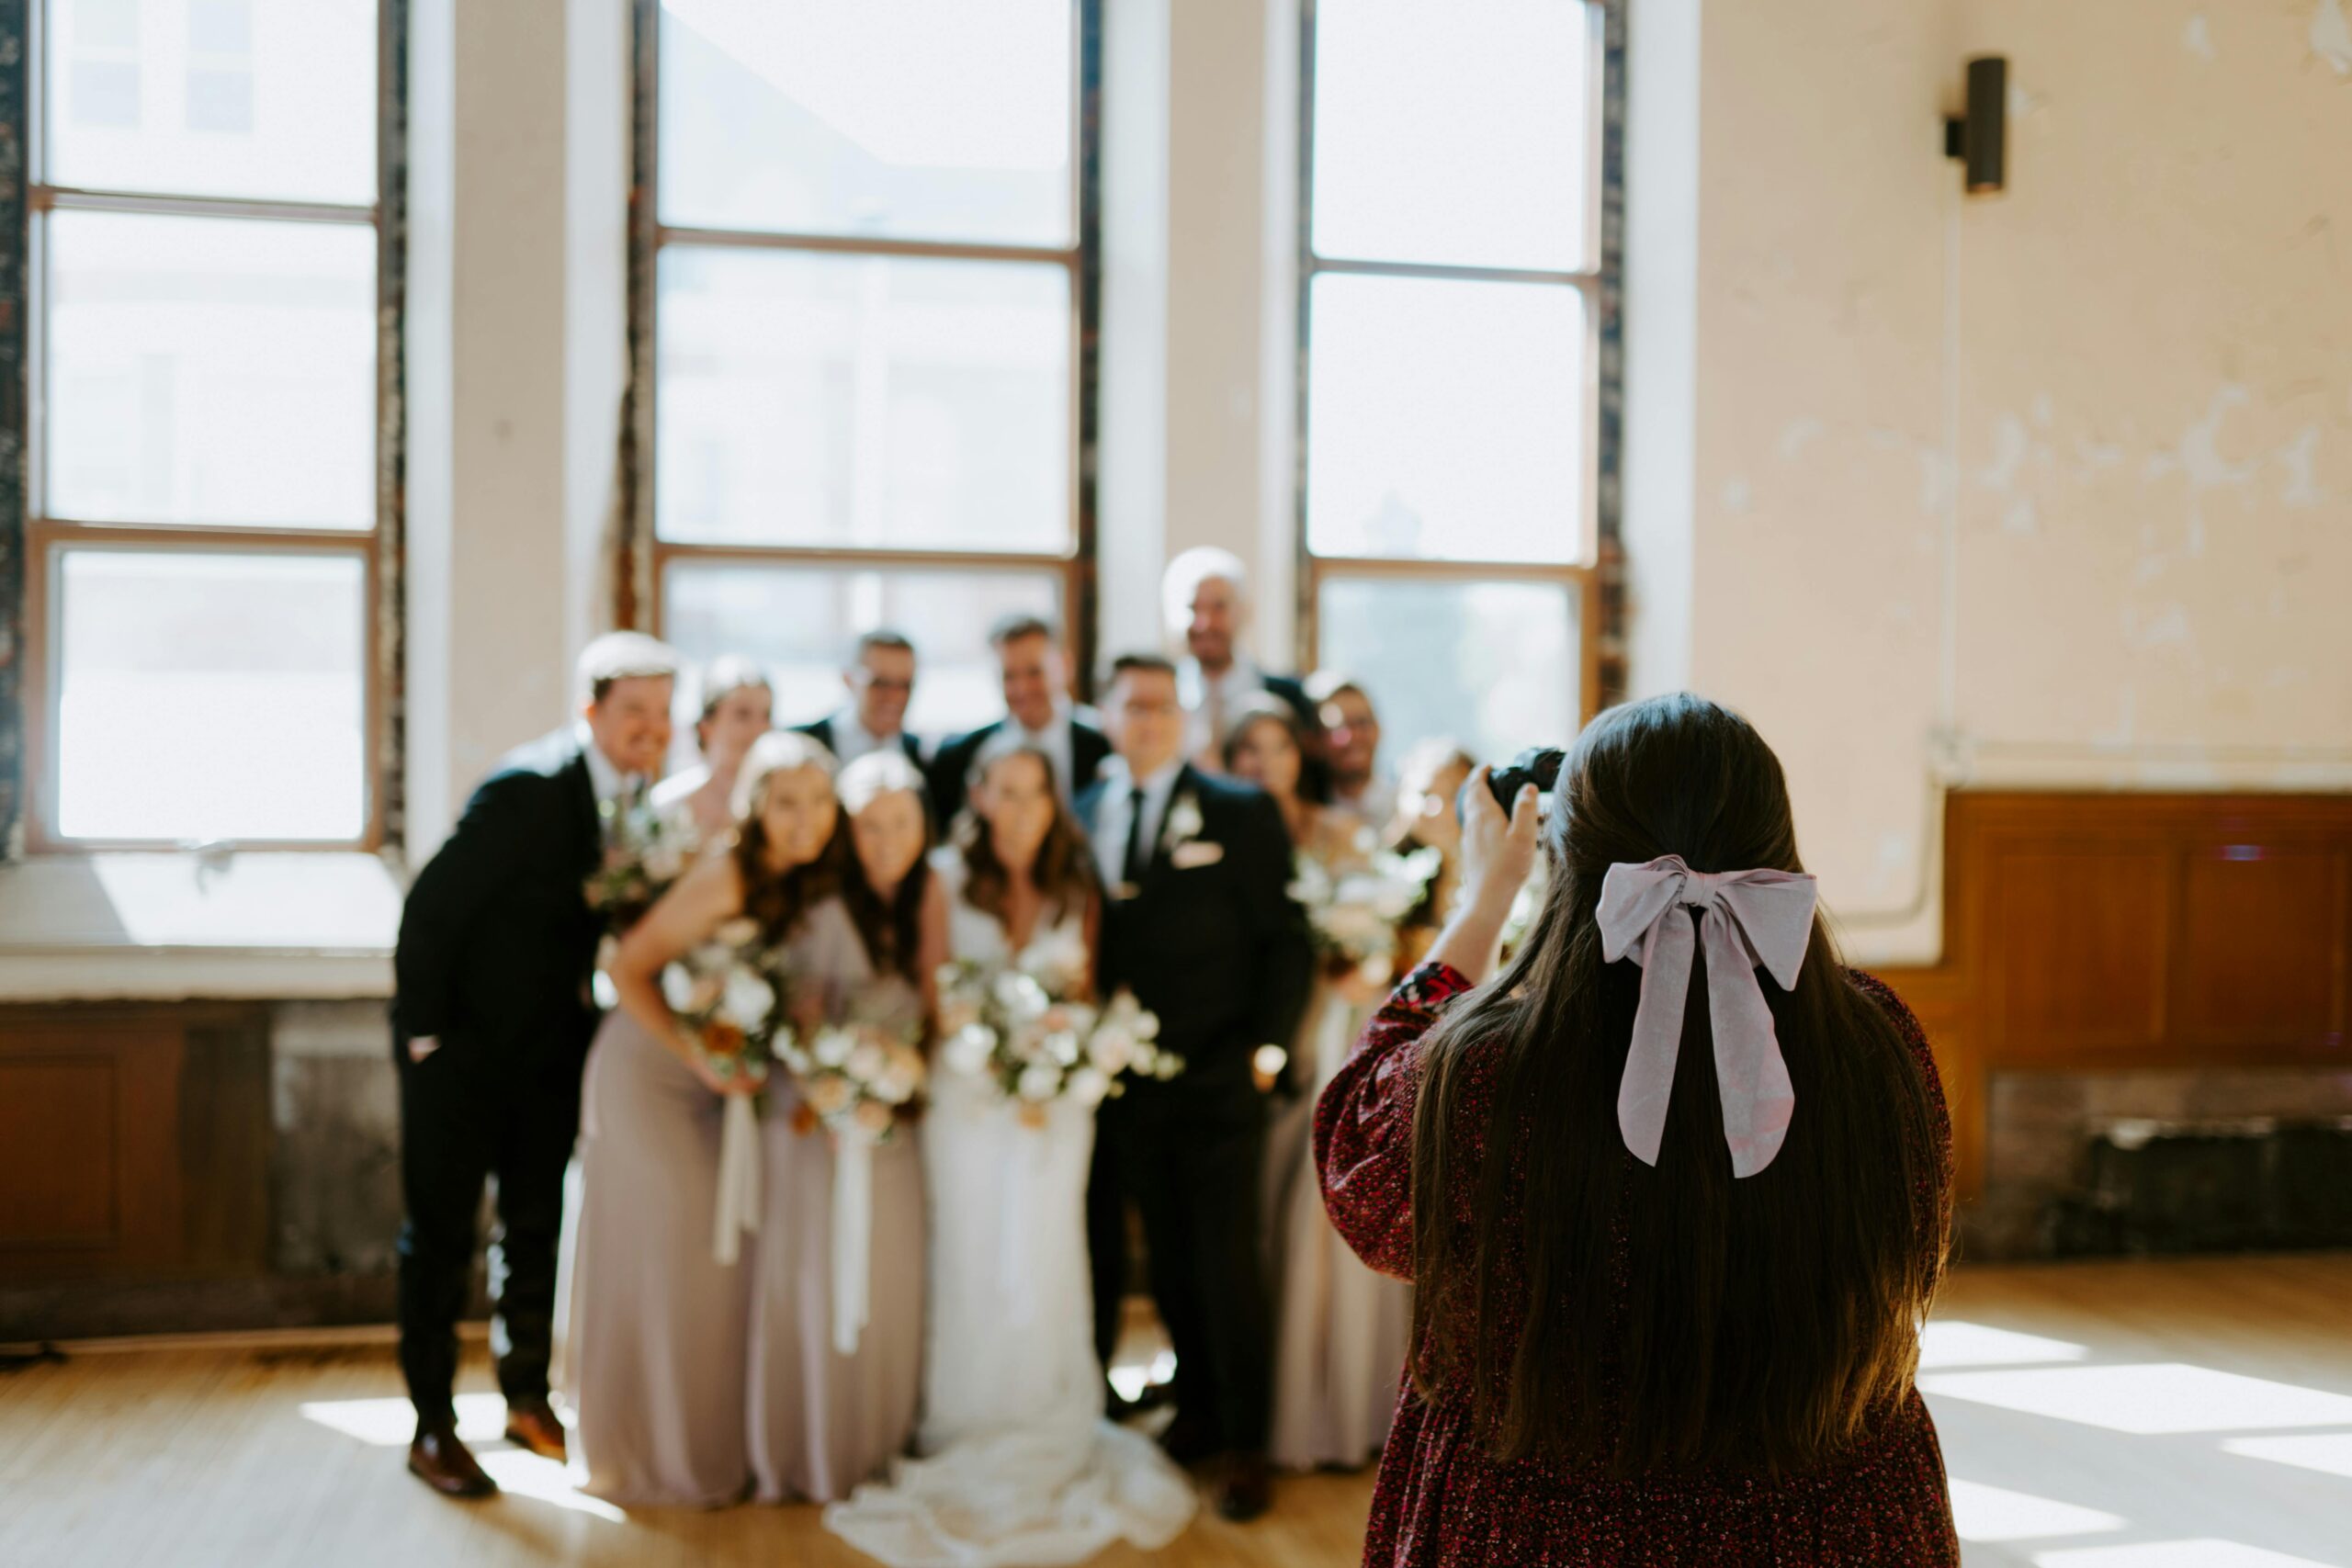
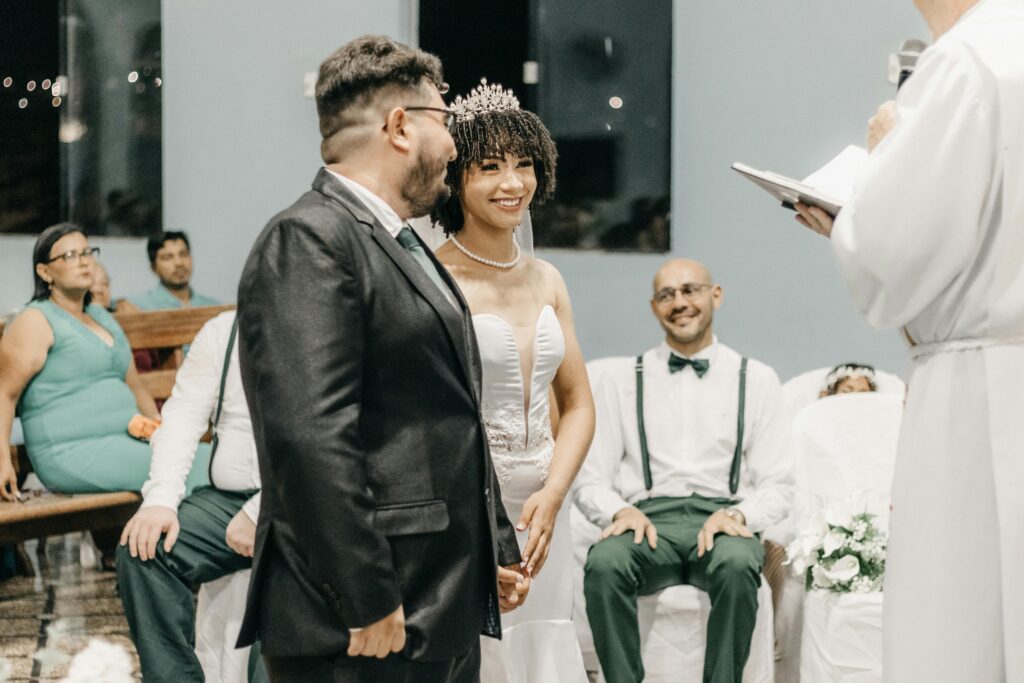
Indoor wedding ceremonies are beautiful — but brutally challenging for photography.
Dim churches, mixed lighting, fast-moving moments, and strict “no flash” rules can easily ruin shots if your camera settings aren’t dialed in correctly.
Blurry images. Grainy faces. Missed first kisses.
Sound familiar?
This guide walks you through the best camera settings for indoor wedding ceremonies, step-by-step. You’ll learn exactly how to set ISO, aperture, shutter speed, focus modes, and white balance so you can confidently shoot sharp, well-lit photos in any indoor venue.
Whether you’re a beginner or a working wedding photographer, this practical guide will help you get consistent results every time.
Why Indoor Wedding Photography Is Difficult
Indoor photography presents three main problems:
- Low light
- Mixed color temperatures (tungsten + LED + window light)
- Fast, unpredictable movement
Unlike outdoor weddings, you can’t rely on sunlight. And in many religious venues, flash is restricted.
That means your camera settings matter more than your gear.
The goal is simple:
- Let in more light
- Keep motion sharp
- Minimize noise
- Maintain natural skin tones
Let’s break it down.
Core Camera Settings You Must Control
Before diving deeper, here’s a quick overview of the three settings that control exposure.
| Setting | Controls | What to Do Indoors |
|---|---|---|
| Aperture | Light + background blur | Use wide (f/1.4–f/2.8) |
| Shutter Speed | Motion blur | Keep fast enough (1/125+) |
| ISO | Brightness | Increase as needed |
Think of these as a triangle. If you change one, adjust the others to balance exposure.
Section 1: Best Aperture for Indoor Wedding Ceremonies
Recommended range: f/1.4 – f/2.8
Aperture is your best friend indoors.
A wider aperture:
- Lets in more light
- Creates soft background blur
- Makes subjects pop
- Allows lower ISO
When to use each
- f/1.4–f/1.8 → portraits, close-ups, details
- f/2–f/2.8 → couple shots, walking aisle
- f/4+ → groups (only if light allows)
Pro tip
During ceremonies, stay between f/1.8–f/2.2. This gives you enough depth of field to keep both bride and groom sharp without sacrificing light.
If you shoot too wide (f/1.2–f/1.4), focus becomes risky.
Section 2: Best Shutter Speed for Sharp Indoor Photos
Recommended minimum: 1/125 sec
Indoor ceremonies involve movement:
- Walking down the aisle
- Ring exchange
- Hugging parents
- Emotional reactions
Too slow, and you’ll get motion blur.
Safe shutter speeds
| Situation | Suggested Speed |
|---|---|
| Standing portraits | 1/100 |
| Walking aisle | 1/160–1/250 |
| Handheld telephoto | 1/200–1/320 |
| Dancing | 1/250+ |
Rule of thumb
Never go below:
1 / focal length
Example:
- 85mm → 1/100
- 200mm → 1/200
This prevents camera shake.
Section 3: Best ISO Settings for Indoor Photography
Typical range: ISO 800–6400
ISO brightens your image but adds noise.
Modern cameras handle high ISO surprisingly well. A slightly noisy photo is always better than a blurry one.
Starting points
- Bright hall → ISO 800–1600
- Church → ISO 1600–3200
- Very dim → ISO 3200–6400
Pro mindset
Don’t fear ISO.
Today’s cameras clean up noise easily in Lightroom or AI tools.
Motion blur cannot be fixed later.
Section 4: Recommended Shooting Mode & Setup
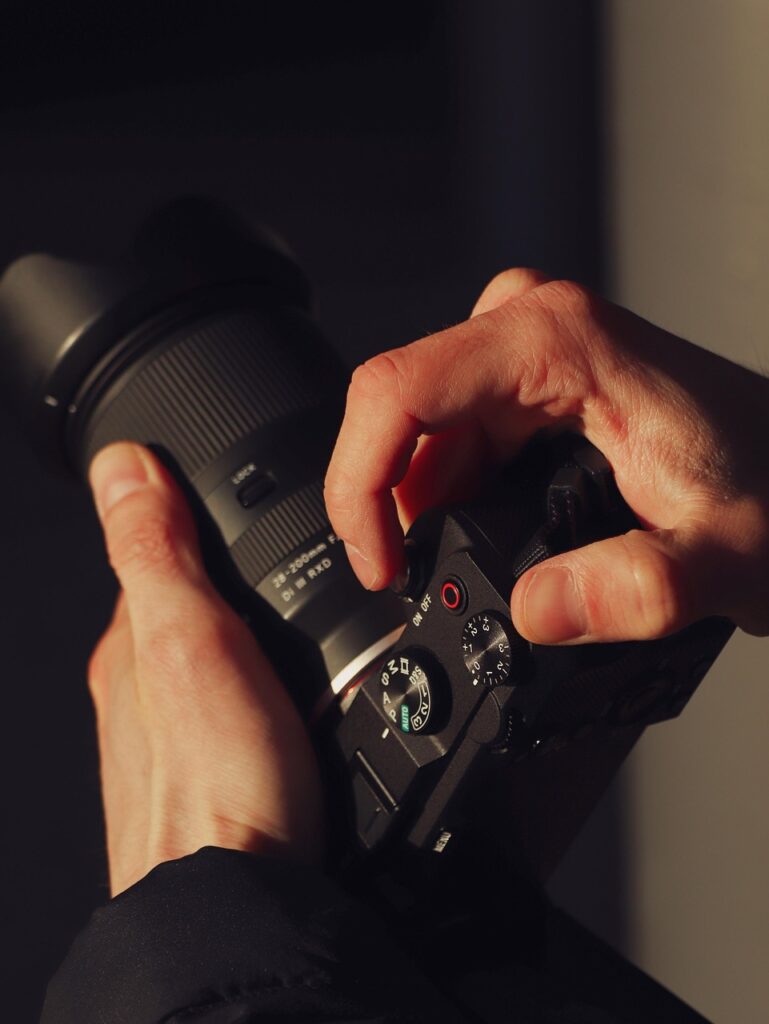
Use Manual Mode (M)
Manual gives complete control and consistent exposure.
Auto modes get confused by:
- White dresses
- Dark suits
- Spotlights
- Stage lighting
Manual keeps everything predictable.
Suggested base settings
Start with:
- Aperture: f/2
- Shutter: 1/160
- ISO: Adjust until exposure looks correct
Then fine-tune.
Focus Settings for Indoor Weddings

Sharp focus matters more than perfect exposure.
Use:
- AF-C / AI Servo (continuous focus)
- Single-point or small zone
- Back-button focus
Why?
People move constantly. Continuous focus tracks subjects and prevents missed shots.
Avoid face detection in very low light — it can hunt and miss.
White Balance Settings
Indoor lighting often mixes:
- Tungsten (yellow)
- LED (green)
- Window light (blue)
Auto WB can shift colors between shots.
Best approach
- Use Kelvin mode
- Start around 3200K–4000K
- Shoot RAW for easy correction later
This keeps skin tones consistent across the gallery.
Flash or No Flash?
Some venues restrict flash.
If allowed:
- Use bounce flash
- Lower power
- Avoid direct flash
If not allowed:
- Use fast lenses (f/1.8 or wider)
- Increase ISO
- Stabilize yourself
Good camera settings beat flash in most ceremonies anyway.
Recommended Gear That Helps Settings Work Better
Camera settings are easier with the right tools.
Lenses
- 35mm f/1.4
- 50mm f/1.8
- 85mm f/1.8
- 70-200mm f/2.8
Extras
- Monopod for long ceremonies
- Silent shutter mode
- Dual card backup
Fast glass dramatically improves indoor photography results.
Practical Tips / Checklist
Use this quick checklist before every ceremony:
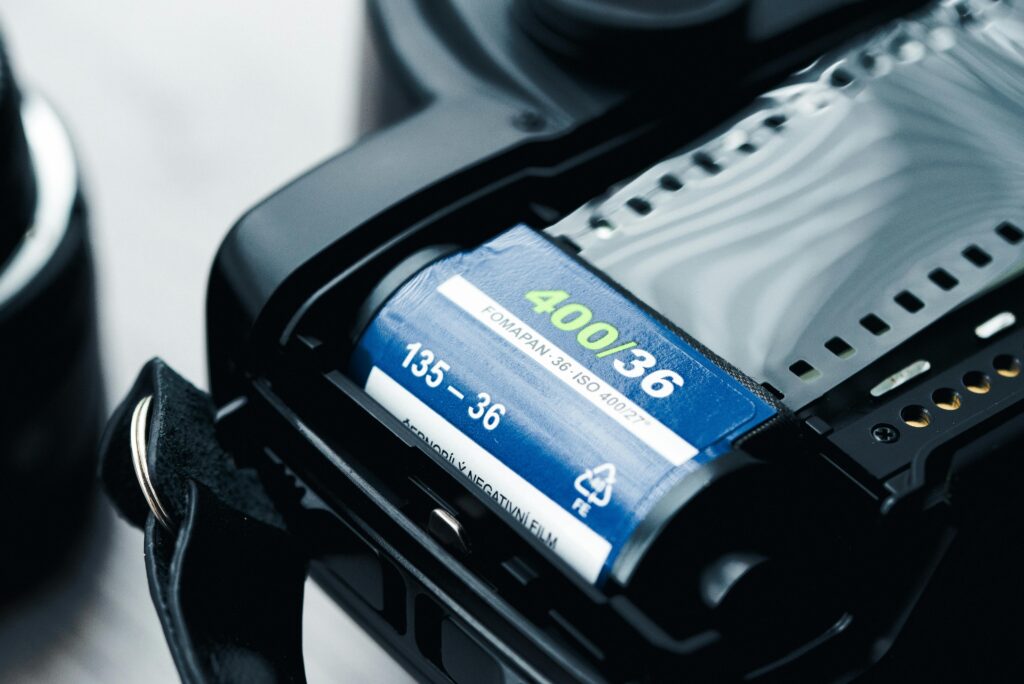
- Shoot RAW
- Manual mode enabled
- Aperture wide (f/1.8–2.8)
- Shutter at least 1/125
- ISO adjusted for exposure
- Continuous autofocus on
- Silent shutter active
- Custom white balance set
- Test shots taken
Doing this takes 60 seconds and saves hours of editing.
Common Mistakes to Avoid
1. Using auto mode
Exposure constantly changes. Results look inconsistent.
2. Too slow shutter speed
Leads to soft, unusable photos.
3. Fear of high ISO
Causes underexposed images.
4. Flash straight at faces
Harsh shadows and washed skin tones.
5. Not checking histogram
LCD screens can mislead brightness.
Avoid these and your indoor wedding photography instantly improves.
FAQs
What are the best camera settings for indoor wedding ceremonies?
Use wide aperture (f/1.8–f/2.8), shutter speed above 1/125, and adjust ISO between 800–6400. Shoot manual mode and RAW for better control. These settings maximize light, keep subjects sharp, and reduce color issues common in indoor venues.
Should I use flash during indoor ceremonies?
Only if the venue allows it. Bounce flash is safer and looks natural. However, modern cameras and fast lenses often handle low light well without flash. Many photographers prefer natural lighting to maintain ambience and avoid distractions.
What ISO is too high for wedding photography?
It depends on your camera. Most modern cameras handle ISO 3200–6400 cleanly. Slight grain is acceptable and easily reduced in post-processing. A noisy but sharp image is always better than a blurry one caused by low ISO.
Is aperture priority mode good for indoor weddings?
Aperture priority can work, but lighting changes frequently indoors. Manual mode provides consistent exposure and prevents sudden brightness shifts when shooting white dresses or dark suits. Professionals typically prefer manual for reliability.
How do I avoid blurry photos indoors?
Increase shutter speed first. Keep it above 1/125 or faster. Use continuous autofocus and stabilize your stance. Wider apertures and higher ISO help maintain fast shutter speeds without underexposing your shots.
What white balance should I use indoors?
Set Kelvin manually between 3200K–4000K depending on the light. Avoid auto white balance since it changes from shot to shot. Shooting RAW also allows easy color correction later for consistent skin tones.
Conclusion
Indoor wedding photography doesn’t have to feel stressful.
Once you understand how aperture, shutter speed, ISO, and focus settings work together, you can handle any lighting situation confidently.
Start with wide apertures, protect your shutter speed, raise ISO without fear, and stay in manual mode.
Do this consistently, and your indoor wedding photos will look sharp, bright, and professional every time.
If you regularly shoot weddings, mastering your camera settings is just the first step. Organizing and delivering thousands of photos efficiently is equally important. Use smart tools and streamlined workflows to share galleries faster and give clients a premium experience.