
Flat Lay Wedding Detail Shots: A Complete Guide for Photographers
You have maybe 20 minutes. The bride is in hair and makeup. The florals are fresh. The light coming through that hotel window is absolute gold. This is your window to nail the flat lay wedding detail shots that will make your entire gallery sing.
Here is the truth most photographers learn the hard way: flat lays are not a quick afterthought. They are a deliberate, skilled craft that separates average wedding galleries from ones that win awards and flood your inbox with inquiries. The rings, the invitation suite, the perfume bottle, the something borrowed — every single one tells a chapter of the couple’s story.
This guide covers everything you need: camera settings, styling techniques, composition rules, and the exact workflow to use on the wedding morning so you walk away with detail shots that genuinely stop the scroll. Let’s get into it.
What Are Flat Lay Wedding Detail Shots and Why Do They Matter?
Flat lay wedding detail shots are styled, overhead or near-overhead compositions of meaningful wedding day objects — arranged intentionally and photographed from above to create a clean, editorial look. They matter because they fill emotional gaps in storytelling that posed portraits simply cannot fill.
Think about it from the client’s perspective. The couple spent months sourcing that custom wax seal for the invitations. The mother of the bride passed down that pearl bracelet. The groom’s grandfather’s cufflinks traveled across two continents to be at this wedding. A detail shot honors those objects. It says: this mattered.
The Difference Between Snapshots and Styled Detail Work
A snapshot is dropping the rings on a table and shooting from above. Styled detail work is choosing the right surface, controlling the light, layering textures, and understanding negative space before you ever raise your camera.
The difference shows up immediately in the final gallery. Styled flat lays have visual weight, intentional color harmony, and a sense of luxury. Snapshots look like inventory photos.
According to wedding photographers across platforms like Reddit’s wedding planning community and professional forums, couples consistently report that detail shots are among their favorite images in the final gallery — often more than group formals. Clients remember the feeling of seeing their grandmother’s ring photographed beautifully. That emotional response is what drives referrals and five-star reviews.
Flat lay photography also serves an important practical function for photographers. Strong detail images populate your portfolio, attract your ideal client, and demonstrate your eye for composition beyond just capturing people. They show range. They show intentionality. In a saturated market, that is exactly what differentiates you.
Essential Gear and Camera Settings for Flat Lay Wedding Detail Shots
Getting technically sharp, beautifully exposed flat lay wedding detail shots starts with understanding your gear and dialing in the right settings before you begin styling. The wrong settings will ruin even the most perfectly arranged composition.
Camera Settings That Actually Work
For most indoor flat lay work in natural light, start with this baseline:
- Aperture: f/2.8 to f/5.6. Use f/2.8 for a dreamy, shallow depth of field on a single hero item like the rings. Step up to f/4 or f/5.6 when you need the entire invitation suite in focus across a flat plane.
- Shutter Speed: 1/160s minimum when shooting handheld overhead to eliminate camera shake. If you are on a stable surface or using a tripod arm, you can drop to 1/100s safely.
- ISO: Keep it as low as your light allows. In a bright window-lit room, ISO 100–400 is achievable. In dimmer venues, push to ISO 800 but no higher without accepting some noise in your final files.
- White Balance: Set a custom white balance or use Kelvin. Daylight scenes typically fall between 5200K–5600K. Do not rely on Auto White Balance for flat lays — consistency across the sequence matters for editing cohesion.
- Metering Mode: Spot metering or center-weighted. If your background is light (white marble, linen), your camera will underexpose the scene. Spot meter on the hero element — usually the rings.
Lens Choices for Detail Work
A 50mm f/1.8 or 85mm f/1.8 is the workhorse for most photographers. The 100mm macro lens is the gold standard for ring detail shots — it lets you get incredibly close while maintaining critical sharpness on the band and stone. A wide angle lens like a 24mm will introduce barrel distortion that warps straight edges of invitation cards. Avoid it for flat lays.
Bring a small LED panel or a 5-in-1 reflector to bounce light into shadows when window light is directional. Harsh shadows across an invitation suite kill the image. A simple white foam core board positioned opposite the window solves this in 30 seconds.
Flat Lay Wedding Detail Shot Checklist: What to Include
A solid flat lay wedding detail shot checklist prevents you from missing items the couple cares deeply about. Collect everything before you begin shooting — hunting for objects mid-session wastes your narrow time window.
The Core Items Every Photographer Should Capture
These are the non-negotiables in virtually every wedding:
- Rings: Both engagement ring and wedding bands. Shoot them together and separately. The macro ring shot is a gallery anchor.
- Invitation suite: Include the main invitation, envelope, wax seal, any inserts, and stamps if they are decorative.
- Florals: A single bloom, a boutonniere, or a small cluster pulled from the bridal bouquet adds organic texture and color.
- Jewelry: Earrings, necklace, bracelet — especially heirloom pieces. Ask the bride about sentimental jewelry during your pre-wedding consultation.
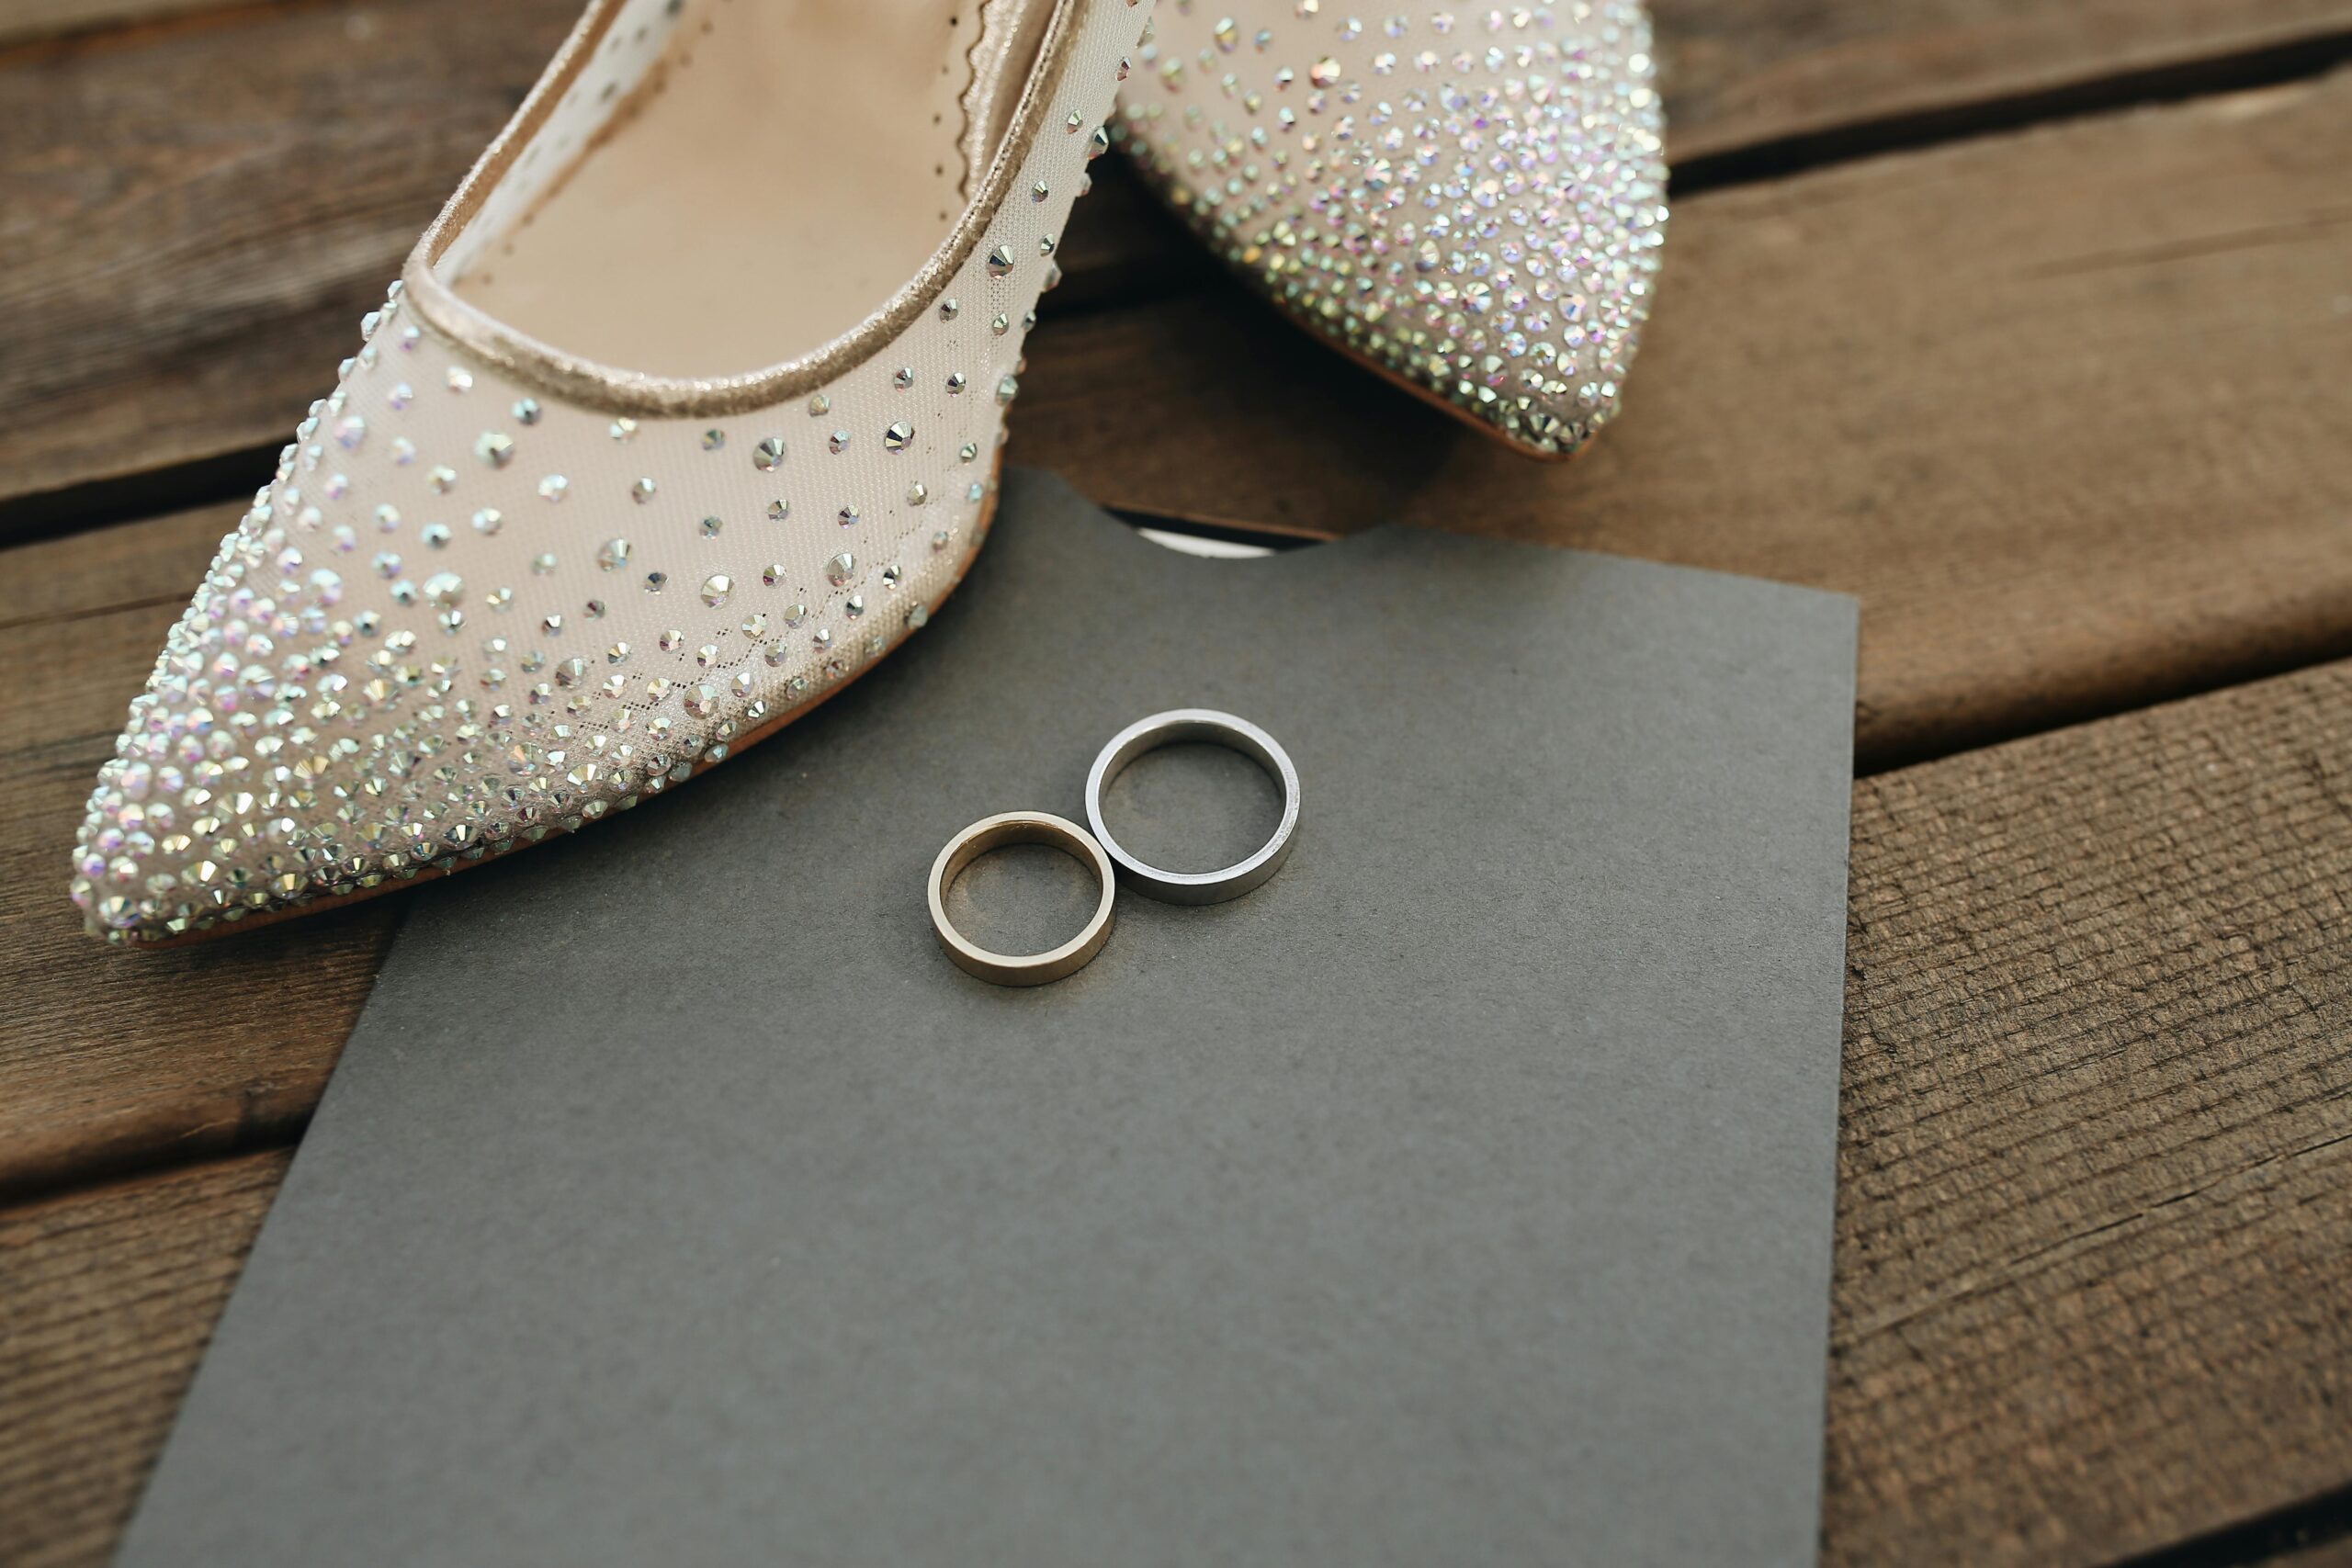
- Shoes: Bridal heels are iconic. Place them heel-to-heel or toe-to-toe depending on the style.
- Perfume bottle: Adds elegance and personalization. The glass catches light beautifully.
- Vow books or handwritten notes: Increasingly popular and deeply personal.
- Something borrowed, something blue: Classic emotional items that deserve documentation.
Bonus Items That Elevate the Gallery
Watch for items that add personality: a vintage family photo tucked into the bouquet, custom ribbon on the invitation suite, a monogrammed handkerchief, the groom’s watch, cufflinks, or a tie bar. These items reveal who the couple actually is. Ask the bride and groom directly during your pre-wedding questionnaire: Is there anything meaningful you want photographed that I might not think to grab? This question alone will change the quality of your detail work.
Styling Techniques for Gorgeous Flat Lay Compositions
Styling is the skill that separates technically proficient photographers from true visual storytellers. Great flat lay wedding detail shots are built on deliberate compositional decisions made before the shutter fires.
The Rule of Odds and Negative Space
The Rule of Odds states that compositions with an odd number of elements — three, five, seven — feel more natural and visually satisfying than even-numbered groupings. When styling your flat lay, arrange items in odd-numbered clusters. Place your hero element (usually the rings) off-center using the Rule of Thirds grid in your viewfinder.
Negative space is your best friend. Resist the urge to fill every corner. Empty space creates breathing room that draws the viewer’s eye directly to the hero item. Some of the most compelling flat lay images have 60% negative space and 40% subject matter.
Surfaces and Textures That Work
Your surface sets the entire mood of the image. Here are proven options:
- White marble: Timeless, luxurious, reflects light beautifully.
- Raw linen or cotton fabric: Soft, organic, works perfectly for rustic and bohemian aesthetics.
- Dark wood: Dramatic contrast, especially powerful for moody editorial styles.
- Invitation suite itself: The cards and envelopes can form the base layer for the rings placed on top.
- Floral petals: Scatter a few loose petals as an organic ground cover.
Always bring a portable flat lay surface to the wedding. A marble contact paper sheet wrapped around a thin board, or a 30x30cm piece of real marble tile, fits in your camera bag and transforms any venue surface into a professional backdrop in seconds.
The Layering Method
Build your flat lay in layers. Start with your base surface. Add mid-ground elements like the invitation suite or a sprig of greenery. Then place your hero item — the rings — last and centered in visual weight. Step back, look through your viewfinder, and adjust. Small shifts of a few millimeters change the entire balance of the composition.
Lighting Techniques for Flat Lay Wedding Detail Photography
Light direction, quality, and color all directly impact how your flat lay wedding detail shots render. The best photographers work light rather than fighting it — they position their subjects deliberately relative to the available source.
Window Light: The Gold Standard
North-facing window light is the dream for flat lay photography: soft, diffused, directional without being harsh. Position your flat lay surface at a 45-degree angle to the window so light rakes across the texture of the invitation paper and creates subtle dimension on the ring band.
Direct sunlight creates specular highlights on rings and jewelry that blow out detail in your stone. If you are working in direct sun, diffuse it using a sheer curtain, a scrim, or even a white bedsheet held up by an assistant. The extra effort is always worth it.
Using Reflectors and Bounce Cards
A 5-in-1 reflector with a white side will fill the shadow side of your flat lay without adding color cast. Position it on the opposite side of your window at a low angle so it pushes soft light back into the shadows. This technique is especially critical when photographing rings — the shadow side of a diamond can go completely black without fill, losing all sparkle and dimension.
Artificial Light Options
If natural light is unavailable — you are in a windowless prep room, shooting at night, or dealing with overhead fluorescent hotel lighting — use a small continuous LED panel set to daylight color temperature (5500K). Place it at a 45-degree angle and feather the light so the edge of the beam falls across your subject. This mimics the quality of window light without needing the sun.
Never use your on-camera flash for flat lays. It flattens the image, eliminates texture, and creates harsh reflections on shiny surfaces like rings, metals, and perfume bottles.
Workflow Tips: How to Shoot Detail Shots Efficiently on Wedding Day
Wedding morning is chaos. The efficient photographer has a system that allows them to produce exceptional flat lay wedding detail shots without disrupting the flow of the day or running over schedule.
When to Shoot Detail Shots
Arrive early — ideally 60 to 90 minutes before the bride is ready for portraits. This window is your detail photography time. Hair and makeup is happening in the background, the room is naturally lit, and everyone is calm. Do not wait until after the ceremony. By then, the invitation suite has been handled, the florals are wilting, and the perfume bottle has been tucked away in a bag.
Communicate this plan clearly in your pre-wedding client guide. Ask the bride to have all detail items set aside in a bag or box you can access immediately on arrival. Many photographers send a specific packing list to clients weeks before the wedding so nothing is forgotten.
Build a Repeatable Shooting Sequence
Develop a consistent shooting sequence you follow at every wedding. For example:
- Scout the room for the best light source immediately on arrival.
- Collect all detail items from the client’s bag.
- Set up your surface and background.
- Shoot the invitation suite flat lay first (most fragile elements).
- Move to rings and jewelry macro shots.
- Shoot shoes, perfume, and accessories.
- Return all items to the client before beginning bridal portraits.
This sequence takes 20–30 minutes when you are practiced. Every item is documented. Nothing is missed. Your client gets the complete story.
Communication Is Part of the Workflow
Brief the maid of honor or wedding coordinator about the detail shot timeline when you arrive. Ask someone to be your runner — a point of contact who can fetch items, hold a reflector, or clear the space for five minutes while you work. This is not a luxury. On a complex wedding morning, it is a necessity.
Frequently Asked Questions About Flat Lay Wedding Detail Shots
How long should flat lay wedding detail shots take on the wedding day?
Plan for 20 to 30 minutes if you arrive prepared with a checklist and a designated shooting surface. Arriving early — 60 to 90 minutes before bridal portraits begin — gives you the time and light you need without rushing or disrupting the morning schedule.
What aperture is best for ring flat lay shots?
Use f/2.8 for a single ring with shallow background blur, or f/4 to f/5.6 when both rings need to be in sharp focus across the same focal plane. For macro ring detail shots showing the stone up close, f/5.6 to f/8 ensures the entire diamond is crisp.
What surfaces work best for wedding flat lay photography?
White marble, raw linen fabric, dark wood, and the invitation suite itself are all reliable surfaces. Bring a portable marble tile or contact paper board in your bag. Avoid busy patterned surfaces that compete visually with the detail items and distract from the hero elements.
Should I bring my own flat lay props to weddings?
Yes. A small prop kit is a professional differentiator. Include a portable marble surface, a white foam core bounce card, a few neutral fabric swatches in linen and cotton, and a small sprig of dried botanicals. These take up minimal bag space and dramatically expand your styling options in any venue.
How do I avoid reflections and glare on rings and jewelry?
Use soft, diffused light rather than direct sunlight or flash. Position your light source at a 45-degree angle and use a white bounce card to fill shadows. For extreme specular highlights on a diamond, use a polarizing filter on your lens and rotate it until the reflection reduces. Shooting slightly off the 90-degree overhead angle also minimizes flat reflections.
What should I tell clients to prepare for detail shot photos?
Send a pre-wedding detail shot checklist four to six weeks before the wedding. Ask them to pack rings, invitation suite, heirloom jewelry, shoes, perfume, vow books, and any sentimental items in one bag. Ask specifically about meaningful items they want documented. Clear nails or neutral polish also photographs better than chipped or overly bright nail color.
Conclusion
Flat lay wedding detail shots are not a bonus — they are a core storytelling tool in every professional wedding photographer’s toolkit. When you master the technical side (right aperture, controlled light, sharp focus) and combine it with intentional styling (layering, negative space, surface choice), you create images that genuinely move people.
The couples who hire you are trusting you to notice what matters. The grandmother’s ring. The handwritten vow. The wax-sealed envelope they spent three hours perfecting. Your job is to see those things clearly and honor them with skill.
Build your checklist. Pack your prop kit. Arrive early. Shoot with purpose.
If you found this guide useful, save it for your next wedding season and share it with a photographer friend who is still figuring out their detail shot workflow. And if you want more practical, photographer-to-photographer education like this, explore the full library of tutorials on the blog — there is always more to learn.